Fences serve both functional and aesthetic purposes in our outdoor spaces, and proper care ensures they remain beautiful and durable. This guide delves into the process of fence staining and sealing for wooden fences, offering insights on understanding the benefits, preparing your fence, selecting suitable products, and a step-by-step application process. By following these recommendations, you’ll protect your fence from elements, enhance its beauty, and ensure longevity.
- Understanding Fence Staining and Sealing Benefits
- Preparing Your Wooden Fence for Staining
- Choosing the Right Stain and Sealer for Optimal Protection
- Applying Stain and Sealer: Step-by-Step Guide
Understanding Fence Staining and Sealing Benefits
Fence staining and sealing are essential maintenance practices for wooden fences, offering numerous benefits that go beyond aesthetic enhancement. The primary advantage lies in protection—stain and sealant act as a barrier against the elements, including harmful UV rays from the sun, rain, snow, and extreme temperatures. Over time, these environmental factors can cause wood to rot, crack, or fade, leading to structural damage and an unappealing appearance. By applying a protective coat, you safeguard your fence’s integrity and ensure it remains robust and visually appealing for years to come.
Moreover, staining and sealing improve the wood’s durability. The sealant fills pores and cracks in the wood, preventing moisture absorption and minimizing rot. This is especially crucial in areas prone to high humidity or frequent rainfall. A well-maintained stained fence not only adds value to your property but also requires less frequent repairs or replacements, saving you time and money in the long run.
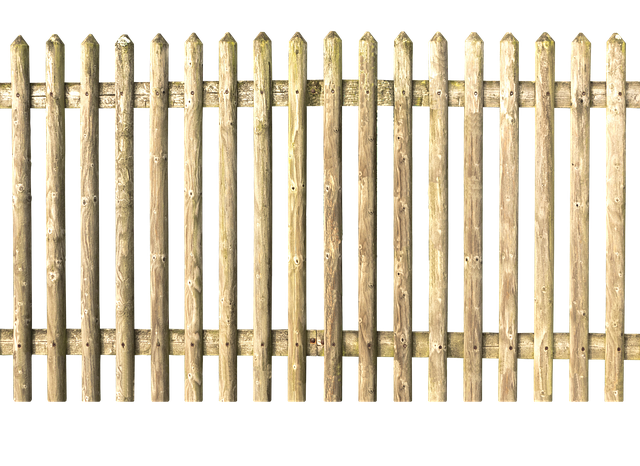
Preparing Your Wooden Fence for Staining
Before applying stain or sealer to your wooden fence, proper preparation is key. Start by thoroughly cleaning the fence to remove any dirt, debris, and mildew. Use a pressure washer or a stiff brush with soap and water to ensure a clean surface. This step is crucial as it allows the stain to adhere better, resulting in a more even finish.
After cleaning, inspect the wood for any damaged or rot sections. Repair or replace these areas to prevent further issues. Sanding the fence slightly can also help smooth out rough spots and create a better base for staining. Make sure all tools used during preparation are clean to avoid transferring any contaminants that could affect the final look of the stain.
Choosing the Right Stain and Sealer for Optimal Protection
Applying Stain and Sealer: Step-by-Step Guide
Applying stain and sealer to your wooden fence is a multi-step process designed to protect and enhance its beauty. First, clean the fence thoroughly to remove any dirt, dust, or mildew using a pressure washer or a brush and mild detergent. This step ensures that the stain adheres properly and evenly. After the fence is dry, choose your desired color of wood stain and apply it with a paintbrush or roller, following the manufacturer’s instructions for coverage and drying time.
Next, select a high-quality water-based sealer suitable for exterior use. Apply the sealer in even coats, allowing each coat to dry completely before adding another. Typically, two to three coats are sufficient. Ensure thorough coverage for optimal protection against the elements. The final step is to allow the fence to cure fully, which can take several days, depending on the product and environmental conditions.